

 Leigh-Anne Harber
Table of Contents
ToggleIf you’ve been searching for a smarter way to start seeds indoors, or at least undercover, you may have already spotted seed snails popping up across gardening blogs and social media feeds.
This clever, coiled method is taking the gardening world by storm, and when I first Googled the term, I was given a list of blogs about actual snails, and I was, for a moment, a little confused.
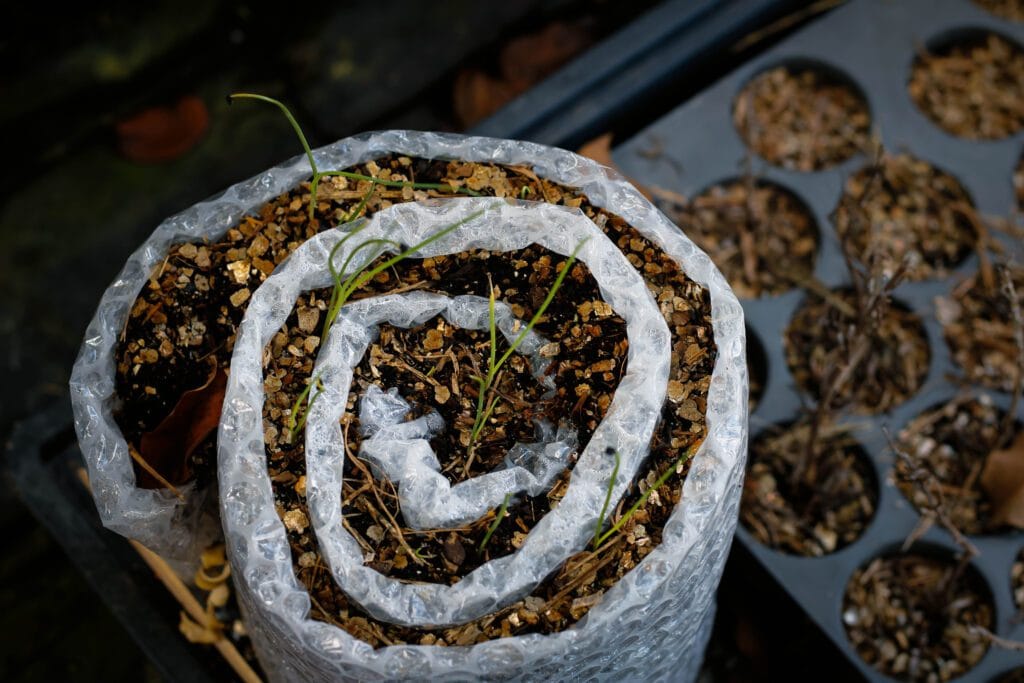
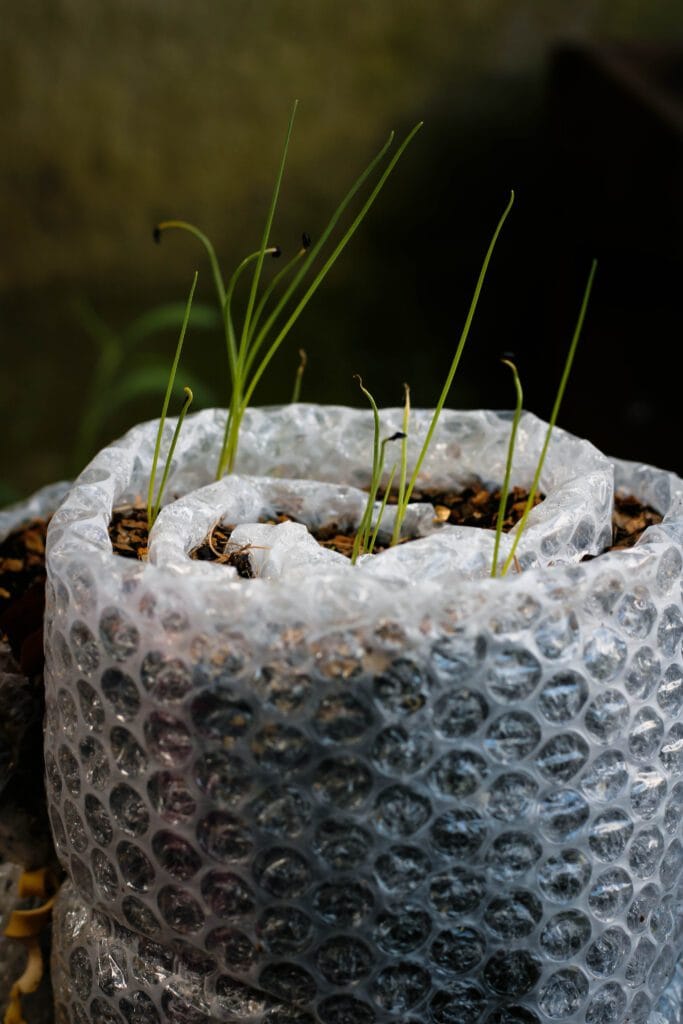
A seed snail is a roll of flexible material, usually bubble wrap, corrugated cardboard, or a padded envelope, lined with seed-starting compost, fastened, and then coiled up so it looks just like a snail’s shell.
The seeds are sown into the exposed spiral of soil (at the top of the structure, where the soil is exposed, where they sprout and grow until you gently unroll the seed snail and transplant the seedlings.
Instead of filling dozens of individual pots or trays, you stand seed snails upright in a container, which is what makes this method extraordinarily space-efficient.
Seed snails have become especially popular with gardeners who want to start lots of plants indoors before the last frost but who have limited sheltered space outside.
So, Sould You Give Seed Snails a Try?
It’s an unusual way to start seeds, but the fact that it is low maintenance should yield plenty of seedlings.
I have little experience with this method, but I’ve done plenty of research and some experimenting, and it’s a great method for a few reasons:
- Very Little Space is Required
Seed snails allow you to plant many seedlings into one compact, easy-to-move bundle. They fit very neatly on an average windowsill, and depending on the size you make, a single snail can hold as many seedlings as a large seed tray, all in just a fraction of the space.
- Better Root Development
Because seed snails tend to be far deeper than a typical seed flat or plug tray, they encourage a better, deeper-reaching root system. The continuous column of soil encourages deep, downward root growth instead of circling in a small cell, which means stronger, healthier seedlings by transplant time.
- No Pots or Trays Needed
One of the biggest advantages is that seed snails do away entirely with the need for pots, seed trays, and plug trays. All you’re using is a strip of flexible material, something you’d otherwise throw away, like packaging materials or old bubble wrap. This saves money and reduces plastic waste.
- Easy Transplanting
When transplant time comes, simply unroll the snail, and there they are: beautifully spaced, long-rooted young plants that separate easily with minimal disturbance. No wrestling with tangled roots, and no broken stems.
- Uses Minimal Compost
A seed snail uses just enough potting mix to do the job, a thin but consistent layer spread along the strip. This is significantly less than filling individual pots, which is both cost-effective and better for the environment.
What You’ll Need
Seed snails are one of the more cost-effective ways to start your seeds, and you probably already have everything you need somewhere around your home.
To get started, this is what you’ll need.
Flexible Strip Material (choose one):
- Bubble wrap is the best choice, if you don’t mind using plastic. The air pockets make the roll sturdier and the plastic insulates the seedling mix from temperature swings. It’s also reusable many times, flexible, and it holds moisture well.
- Corrugated cardboard is the best fully plastic-free alternative. It is best used for fast-germinating seeds like lettuce or basil, as it will deteriorate with moisture over time.
- Padded envelopes or a foam roll are another excellent option which you can get from packaging materials.
- Sheet plastic is also a great option, especially if its something reused from old packing materials. It works well, though bubble wrap is generally preferred.
If you don’t want plastic coming into contact with your seedlings, you can line your bubble wrap with parchment or grease proof paper, and then fold it over to cover both sides and secure it with tape before you fill it with soil.
Other supplies you’ll need include:
- Quality seed-starting compost or all-purpose potting mix
- Masking tape, painter’s tape, rubber bands, or string
- A tray or container to stand the snails upright in
- Your seeds of choice
- A pencil or dibber for making seed holes
- A misting bottle or a gentle watering can
- Labels to mark each snail with the variety name and sowing date
Step-by-Step: How to Make Your Seed Snail
Step 1 — Cut Your Strip to Size
Cut your chosen material into a long rectangular strip. It should be about 10 to 15 cm wide (wider strips are ideal for deeper-rooting plants like onions, leeks, beans or sweet peas, while narrower strips are perfect for lettuce or basil. For length, its up to you really. I used about a meter of bubble wrap for mine, but you can go for 2 meters or more. It’s your project, experiment!
Step 2 — Moisten Your Compost
Before loading the seed starting mix onto your strip, you should moisten it thoroughly.
To figure out if your soil is moist enough, squeeze a handful. There should be just a few drips coming out, meaning it’s fully moistened but not waterlogged.
This step is essential because you will want consistent moisture throughout the snail.
Step 3 — Spread the Compost
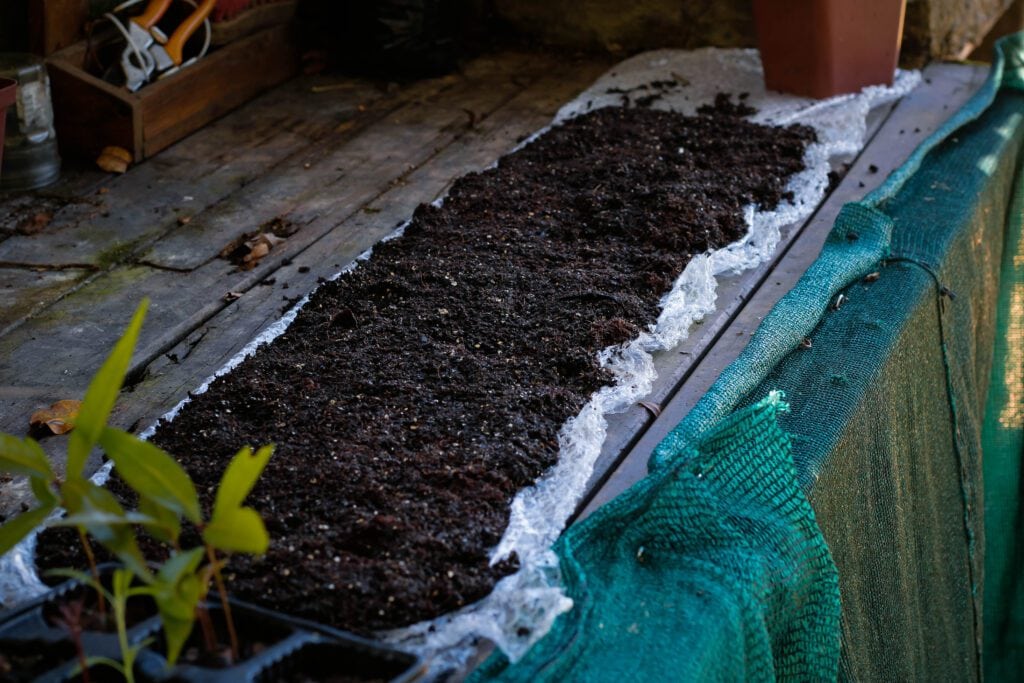
Lay your strip of bubble wrap or cardboard flat and spread the moist seed mix evenly. You want between 1 and 5 cm of soil, depending on what you’re sowing. Press the soil down firmly as you go, and leave about 2 cm at one end bare to make rolling and securing the snail easier.
Step 4 — Roll It Up
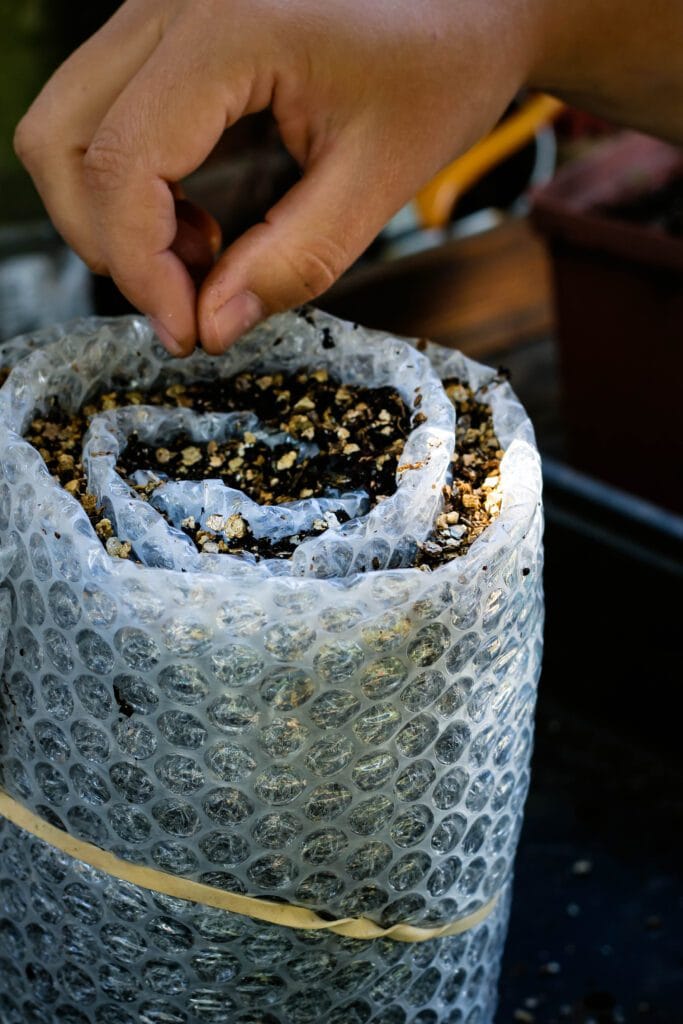
Starting from the end with the soil, roll the strip up gently but firmly into a spiral. Once fully rolled, secure with tape, rubber bands, or string.
Step 5 — Stand It Upright and Top Up
Stand your snail upright in a tray and give it a gentle tap to settle the soil. At this point, you can top it up with a little more soil if needed.
Step 6 — Sow Your Seeds
Always sow after rolling, never before.
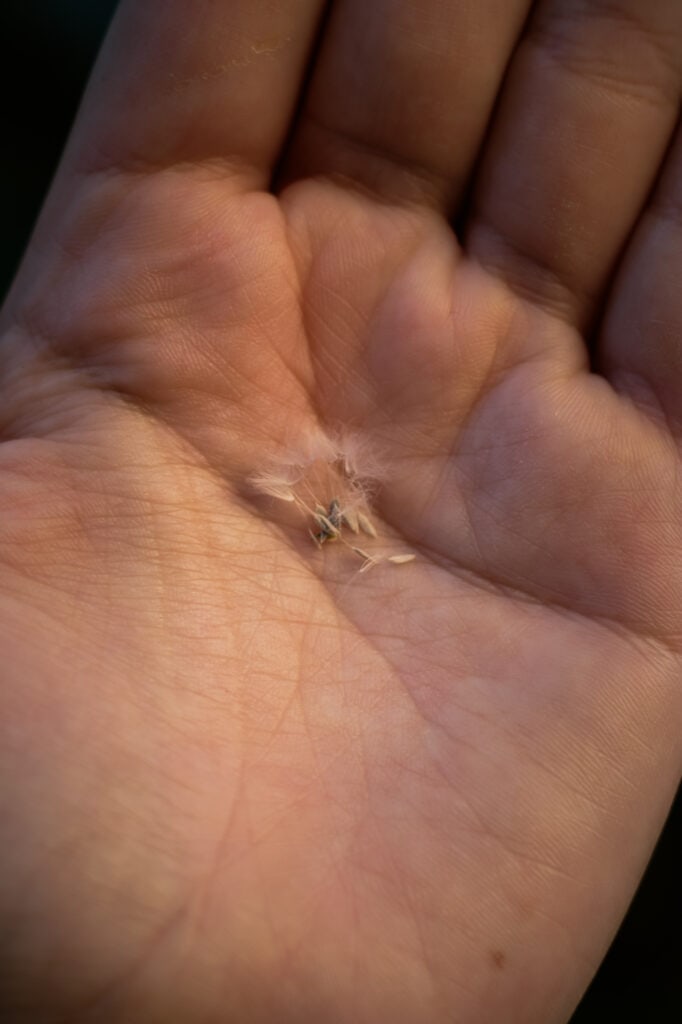
For small seeds, drop them onto the surface every centimetre and cover with a thin layer of your seed starting soil.
If you are working with larger seeds, use a pencil to make individual holes at the depth recommended on your seed packet. Use one variety of seed per snail only, so that things don’t get too confusing.
Step 7 — Water and Cover
You can now mist the surface well and you can add a lid or mad over the top to help retain humidity until germination. You can remove the cover once your first seedlings appear.
Step 8 — Label and Position
The last step is to label your seed snail with the variety name and sowing date.
Place the snail in a bright, warm area, like a sunny windowsill, under grow lights, or in a heated propagator.
If you are doing more than one then you can pack your snails snugly in a tray to keep them upright.
What Seeds Work Best?
Seed snails work brilliantly for a wide range of crops, including tomatoes, peppers, cucumbers, cabbage, kale, broccoli, lettuce, spinach, leeks, onions, beans, sweetcorn (use wider, deeper rolls), sweet peas, cosmos, marigolds, basil, parsley, and dill.
Pretty much anything with long roots that don’t want to be disturbed too much while growing can benefit from this method.
Caring for a Seed Snail
Seed snails are not all that complicated to care for, though they are rather different to conventional seed sowing methods.
Watering
You should monitor the moisture of the snails closely. As snails contain so much less soil than traditional pots, they can dry out faster, especially during spring and summer.
This method of seed sowing is usually ideal for gardeners who like to bottom water. Placing the seed snails in a tray without holes and then filling the tray with a little water allows the soil to pull the water up into the snail.
By doing so, the seedlings will grow stronger roots and, during those delicate early days, the seeds won’t be moved.
Feeding
Seedlings shouldn’t need fertiliser at first, but what I like to do is to mix a little organic fertiliser in with my seed soil. I use Wonder Veggie Fertiliser, which comes in granules that can be easily mixed in. Once the seedlings appear, they can start getting a boost from the added nutrients.
If you find that your seedlings are looking a little yellow and unhappy, you can also try watering with a half-strength liquid fertiliser such as seaweed feed.
Potting on
If your seedlings need more room to grow, you can unroll the snail (very gently), add a fresh layer of seed mix, and roll it back up.
For plants needing significantly more space, it might be a sign that it is time to separate and respace them in a new, larger snail with fresh soil, or it might even be time to plant them out!
Transplanting
When your seedlings have a couple of true leaves and the weather is right, unroll, gently tease the seedlings apart (a little water helps), and plant out with good spacing.
Do not plant the snail directly into the ground!
Seed Snail Mistakes You Might Make
Although it is a straightforward seed-starting method, things can go wrong if you make any of these mistakes.
- Sowing before rolling — Always roll first, then sow. If you do it the other way around, you’re going to lose your seeds in the soil, and there’s a chance that nothing germinates.
- Mixing varieties in one snail — You should only use one variety per snail, and you should make shorter rolls if you are only sowing small quantities.
- Overwatering or uneven watering — Make sure that you water evenly across the whole spiral and check moisture regularly, as it can dry out quickly.
- Too little soil or the wrong mix — You should use a quality seed-starting mix, one that holds moisture without compacting.
- Skipping labels — Always add a tag with the variety and sowing date.
- Leaving seedlings too long — You should plant out once your seedlings have two true leaves, not when they are tall and leggy.
- Keeping covers on too long — Always remove once germination begins to allow good airflow. If you leave the cover on for too long, chances are good that you’ll end up with a mouldy snail.
You might notice that plants grown this way are sometimes a touch smaller than those in individual pots, but the difference is small, while the space saving is huge.
And they’ll quickly catch up once they have been transplanted into the garden.
Happy sowing! 🌱
