
 Leigh-Anne Harber
Table of Contents
ToggleWhen the seasons start their delightful turn, I feel like a new gardener.
Hauling out the seed packets, stocking up on a few new varieties, and laying out the new season’s garden in my planner always reignites my interest in seeds and growing food.
There is a saying that I once heard that has stayed with me all of these years, and it’s “seeds want to grow”.
There is so much truth in these words.
When you drop a few tomato seeds into the ground, fresh from the tomato you’ve just cut to make your salad, I can guarantee you that in around 14 days, no matter what the weather is (unless you have snow of course), you will have a bunch of healthy seedlings shooting up out of the dirt.
But when you are just starting out in your seed starting journey, things can get confusing, noisy, and tricky.
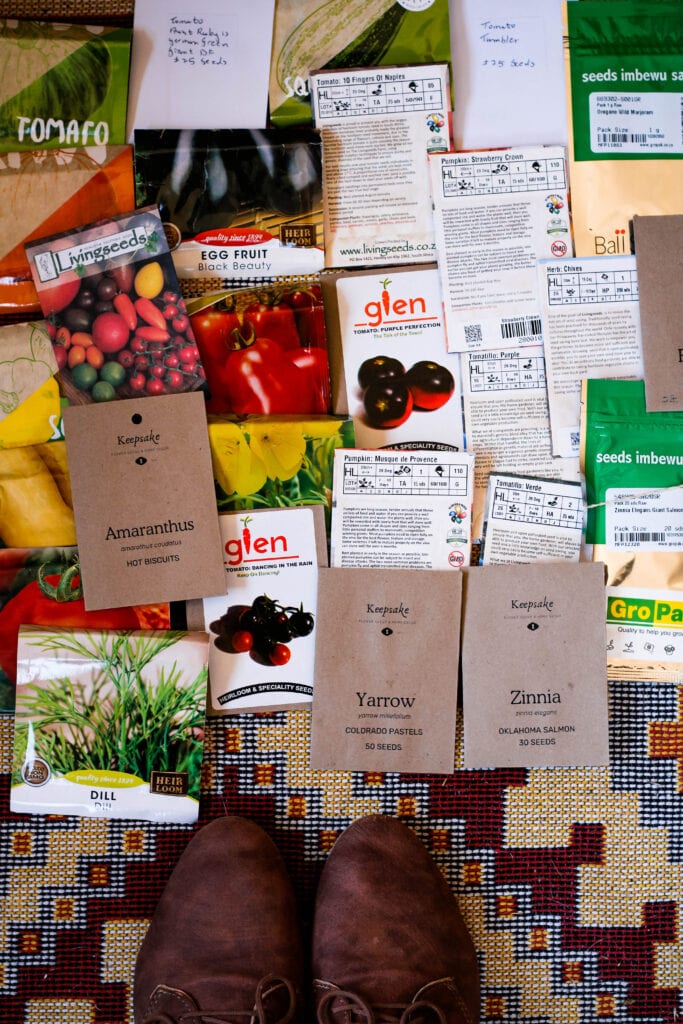
Seed packets are most growers’ introduction to seed starting.
On the back of most seed packets, you’ll get seasonal sowing dates based on where you are growing, spacing, how to plant the seeds, when you’ll get a harvest and how big the plant is expected to grow.
The information can be immensely helpful, but when you are growing food in South Africa, you know just how varied our climates are.
Those in the Cape might get away with growing things like Chard in the summer, but up here in the North Eastern part of the country, Chard will wilt. On the other hand, here in the Lowveld, I can grow tomatoes year round and actually get some of the best harvests in winter, whereas growers in the Free State cannot.
Seed packets are a general guide at best.
Once you become a comfortable gardener, you can start to break the rules and create your own sowing and growing style. But you first need to know the rules before you can confidently break them.
The Front of the Packet
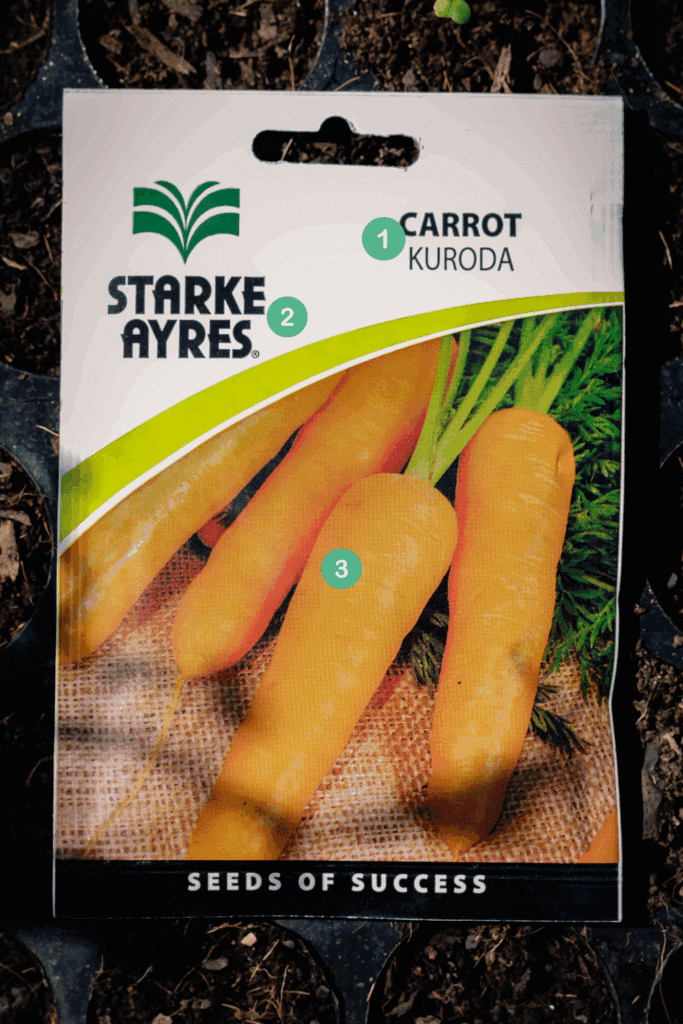
It is hard for me to walk past the seed selection in a shop and not stop to browse. And it is all because of the beautiful images on the front of the packet.
The most prominent feature on the front of the packet does its marketing job by grabbing your attention and getting you to start wondering weather or not you have that particular variety of carrot, despite already having several half full packets of seed that are waiting to be planted.
If you are anything like me, the image alone will sell the seed. I love to experiment with different varieties and will often have a couple of each. My broccoli selection in particular includes a couple of options, as does my pea selection.
Along with the image, the front of the packet will also provide you with the following (depending on the seed company):
- Plant name (common and botanical, and variety)
- Logo
- Image
Some seed brands will also include days to maturity (how long it takes until you get a crop.
This information is important if you plan to succession sow.
They might also include special features (heirloom, hybrid, organic, etc.)
The Back of the Packet
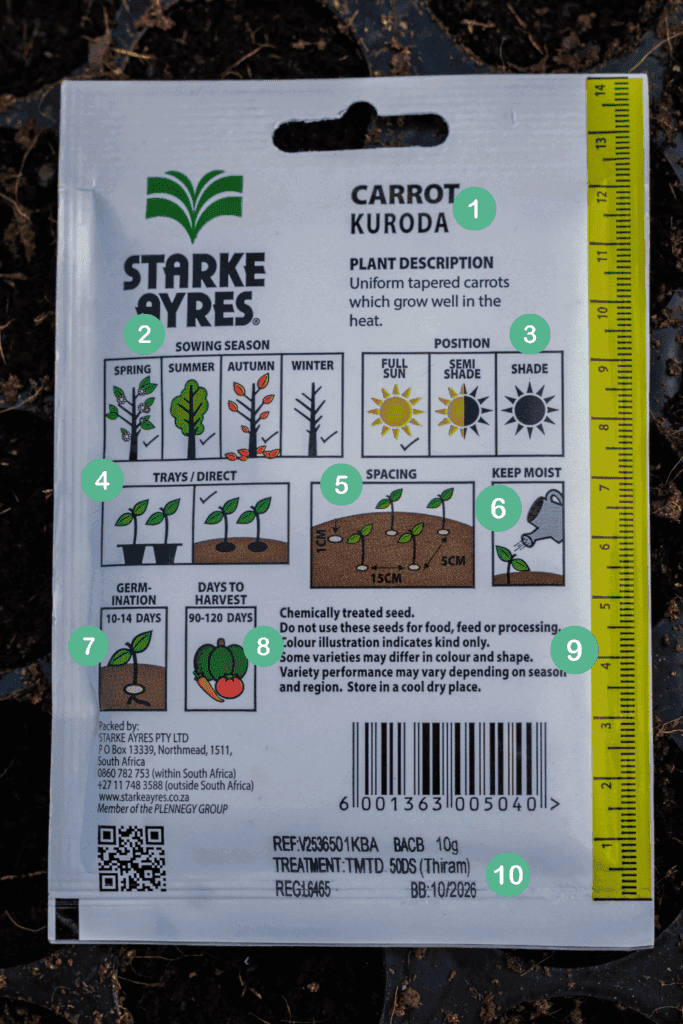
The back of the packet is the most important part of the packaging. This is where you will find the instructions on how to grow the seed. You can take some liberties once you have become a skilled seed planter, but if you are just starting out, and you haven’t had a look at growing guides for your tomatoes, beans, butternuts, herbs, etc, it is a good guide.
On the back of the packet, you’ll get information like:
- Plant Variety
- When to plant (based on zones or seasons
- Sun requirements
- Planting method
- Spacing & Depth (How much of an open area must be left between your plants, and how far into the soil the seed must go. Bigger seeds can normally be planted deeper than tiny seeds)
- Water requirements
- Germination time
- Days to harvest
- Additional information
- Expiry date
Spacing is one of the most important pieces of information, but something you can also play with, depending on what you are planting.
Some plants, like tomatoes, require quite a bit of space between them, as the plants need air circulation to prevent the spread of disease, other plants, like spring onions and chard, can be compactly planted meaning you can safely ignore the spacing instruction.
As for sun requirements, it really depends on where you live. 8 to 10 hours of direct Lowveld summer sun will almost certainly scorch the plant and badly dry out the soil, while the same amount of sunshine on the Highveld might be a lot kinder.
In summer, I would suggest always giving your seedlings/plants ample morning sun and shaded or dappled afternoon sun. And never leave your newly seeded plants in direct, hot sun. Not only will this quickly dry out the seed trays, potentially destroying the unsprouted seeds within, but the heat itself can do great harm to the seed.
You can take a few more risks in winter. Seed trays can be left in the sun longer as long as the soil stays damp.
What does “direct sow” mean?
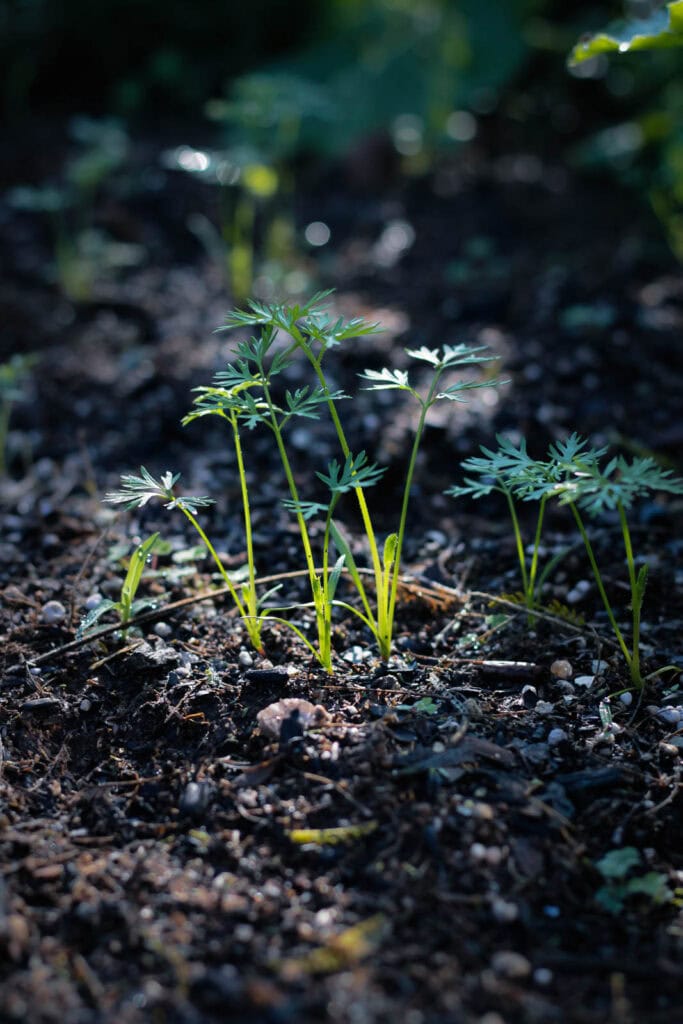
Direct sow refers to planting the seed directly into your garden, as opposed to sowing in a tray. Root plants, like onions, carrots and beets don’t like their roots to be bothered so it is best to plant them directly. You just have to make sure that you keep the ground moist until the first shoots come up.
You can also direct so beans, peas and squashes and pumpkins.
How Long Do Seeds Last? + A Life Expectancy List
When I first started growing from seed, I was really worried about not being able to use up all the seed before the best before date on the back of the packet. I mean, what home gardener has enough space for 300 broccoli plants in one season!
Then I did some reading and found out that if you store your seed the right way, you can ignore the best before date.
Of course, there are some exceptions, like onion seed, which has a far shorter lifespan than most other seeds, but for the most part, your seeds will be good to plant for years to come.
For the home vegetable gardener, these are the most common types of seed you can buy and their average life expectancy, once the packet is opened:
Vegetable | Seed Life Expectancy |
Beans (Bush, Pole) | 3–4 years |
Beets | 2–4 years |
Broccoli | 3–5 years |
Cabbage | 3–5 years |
Carrots | 2–3 years |
Cauliflower | 3–5 years |
Corn (Sweet) | 1–2 years |
Cucumbers | 5–6 years |
Kale | 3–5 years |
Lettuce | 2–6 years |
Onions | 1 year (sometimes up to 2 years) |
Peas | 3–4 years |
Peppers | 2–4 years |
Pumpkins | 4–6 years |
Radishes | 4–5 years |
Spinach | 1–3 years |
Squash (Summer/Winter) | 4–6 years |
Tomatoes | 4–6 years |
Turnips | 4–5 years |
Zucchini | 4–5 years |
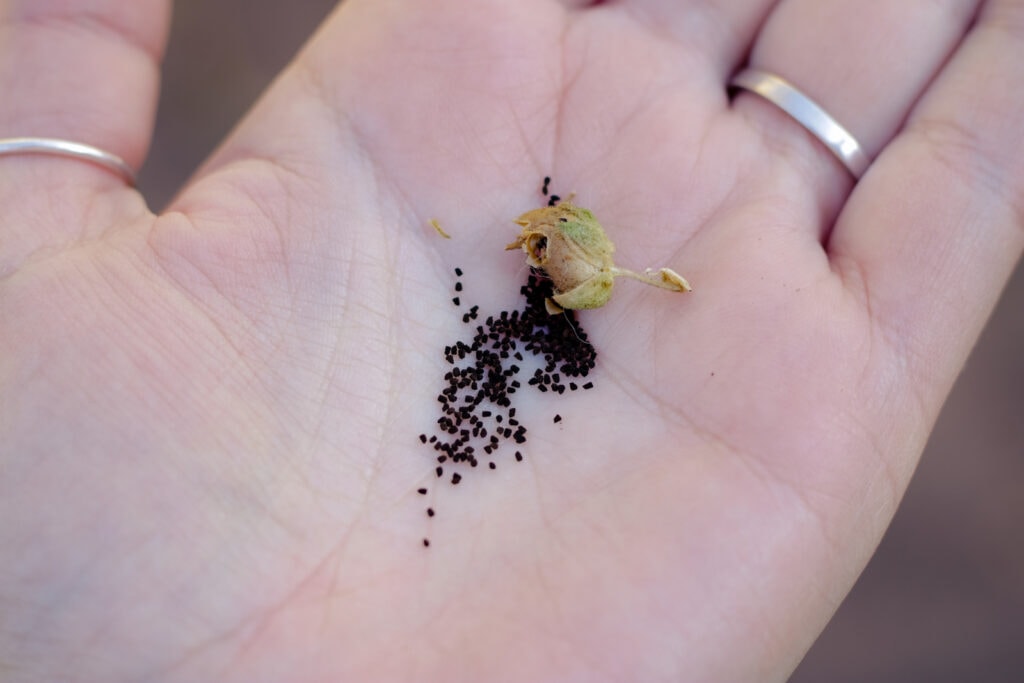
Once the seed package is opened, you should:
- Keep the seeds in an airtight container.
- Store them in a cool, dry, dark place.
- Label the containers with the date you opened the seed packet.
You should also keep in mind that the long term viability of the seed has a lot to do with the seed supplier as well as the shop you are buying the seed from (if you are not buying directly from the supplier).
I have once or twice bought seed from a shop that has not stored them well, in one instance the seed was on a rack in full hot sun, and had terrible germination.
Knowing how to grow plants from seed is an ancient skill that needs to come back into our day to day lives.
When you know how to sprout a plant from seed, you will be able to grow all sorts of plants while also playing an important role in the revival of the almost forgotten plant species, before they are lost forever.

Hi Anne, your information on seed package has been so educative and have learned a lot. I had no clue on how long seeds can stay once opened. Do u able to guide on what’s best to use when planting seeds, manure or basal fertilizer?
Hi Cretos, I am so glad you found the blog useful 🙂 Usually, I give my seedlings a bit of basal fertilizer once the seedlings have at least 4 leaves. If you are planting the seed directly in the ground, you can add the fertilizer once the seedlings come up or you can prepare your ground with some manure (I like using horse manure) and then plant the seeds. Do some research into what the plant needs most before you give them anything.