

 Leigh-Anne Harber
Table of Contents
ToggleStarting seeds requires patience and a little know how, but it is not as complicated as some people like to make out.
I have killed more seeds and seedlings than I care to admit.
But through all the mistakes, I have learned how to successfully germinate my seeds without all the extras that new gardeners are told they need.
Remember, seeds want to grow, you just need to know how to plant them.
What you will need
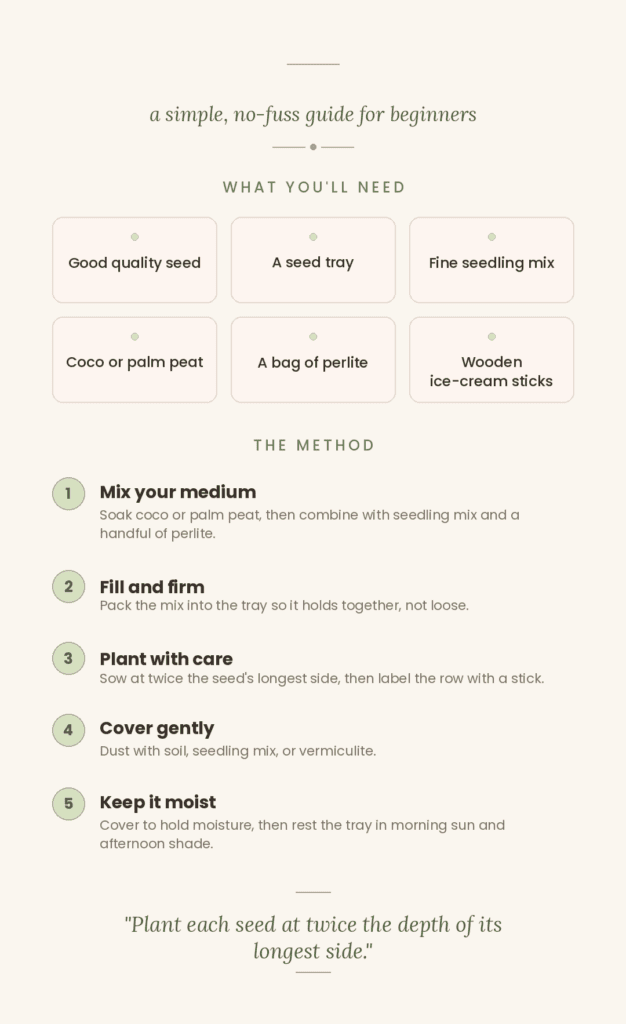
- Good quality seed
- A seed tray or pots
- A fine seedling or compost mix
- A block of coco or palm peat
- A bag of perlite
- Wooden ice cream sticks
Method
1. Create your seed starting mix
Soak your coco or palm peat in a 5 liter bucket until it has absorbed all the water and broken down.
In a 10 liter bucket, or a wheel barrow, add about half the bag of seedling mix. Then mix your peat and your seedling mix well, and add 2 handfuls of perlite.
The peat is going to hold the moisture and the perlite will stop the seedling mix from hardening.
I use a seedling mix because it delays the potting up process by supplying my seedlings with some nutrients.
Germination mixes have about the same ratio, but they tend to be too chunky for my liking.
Overall, the germination mix also costs more than if I DIY the process, and I always end up with more than I need.
2. Fill your seed tray with your seedling mix
Make sure that the mix is firmly in, don’t let it sit loosely or your seedlings won’t take root.
3. Place your seed
This is where it can all go wrong.
All seeds are unique and that is why the instructions on the back of the seed packet are so important.
Some seeds need to be placed just below the surface and covered, while others want to be deeper in the soil.
The basic rule to follow is to plant the seed at twice the depth of its longest side.
Before you plant any seed, write what your seed is on a wooden ice cream stick and place it at the top of the row.
Once you’ve marked your tray, you can start planting.
Make a shallow indentation in the soil using your finger or a pencil, and place the seed. You can plant 1 or 2 seeds in the hole you’ve made.
If you have a really fine seed, this can be hard to do and you might end up planting more than 2.
That’s okay, if they all germinate you can separate them later.
4. Cover the seeds
You can use a fine vermiculite to cover your seed. I just cover them with the soil around the hole I have made, or I use a dusting of the seedling mix.
5. Keep the trays moist
Your seed tray must not dry out while the seeds are germinating. You can try covering the seed tray in a freezer bag, use a clear domed lid, or even use a piece of frost cloth (which can be extra helpful, especially as the cloth helps keep the temperature consistent).
I germinate all my seeds outside at the end of winter or the end of summer, depending on the season, since the temperatures during the day get toasty.
I water my trays when they get a little dry using a big old watering can, and I have had great germination success. I have also never used a heat mat. I place my seed trays on a paving block where they get morning sun and afternoon shade.
If you can’t keep an eye on your seed trays, make sure that you find a spot where they won’t dry out but will stay warm. I don’t check on my trays all day, I let Mother Nature take the wheel and since I have started seeds this way, she has served me well (except for that one time I left my seeds in the sun for 5 hours and killed everything, but we don’t talk about that).

Please send me guide to make seed soil
Hello! Please check out this link – https://alittlegreeneryandblooms.co.za/uncomplicated-seed-starting-guide/
If you don’t have access to things like perlite and peat, I would suggest getting some compost and breaking it up so that it is fine. You will want your seed soil to hold water and to provide your seedlings with something the roots can hold onto. Alternatively, you can buy a bag of seedling or germination mix (a small bag will go a long way).